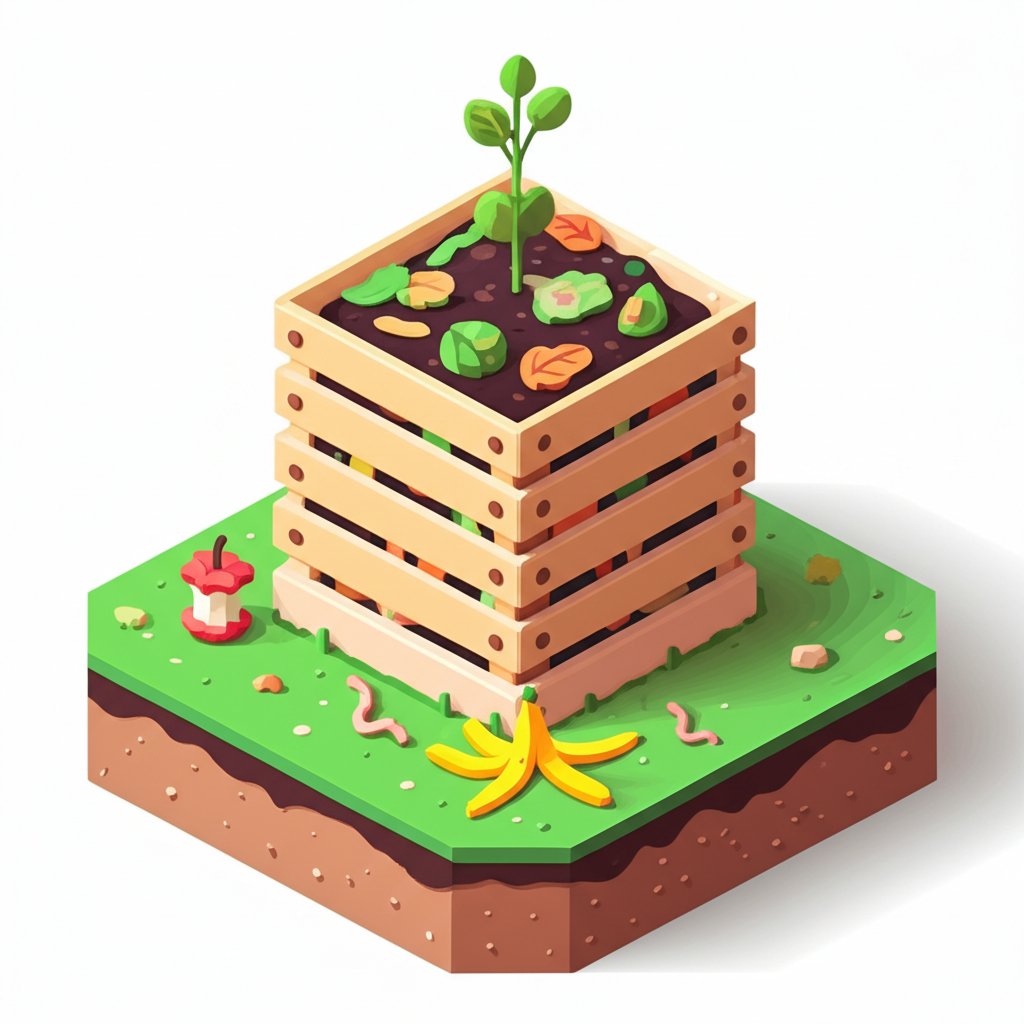
Imagine a garden flourishing with vibrant life, its soil teeming with nutrients, yielding abundant harvests. This isn’t magic; it’s the incredible power of compost, often hailed as “black gold” by gardeners everywhere. Composting is the natural process of recycling organic matter into a rich, dark, crumbly soil amendment that breathes new life into your garden. But as you watch raw scraps transform, a fundamental question arises: what is the compost timeline, how long does the journey take, and ultimately, how old is compost when it’s ready to use?
This comprehensive guide will demystify the intricate stages of composting, providing you with the expert knowledge to transform kitchen scraps and yard waste into a gardener’s most valuable asset. We’ll delve into the science, offer practical tips, and ensure you understand every step from initial pile formation to harvesting nutrient-rich soil. Prepare to unlock the secrets behind efficient composting and master the art of creating your own black gold.
Beyond the basics, understanding what you can compost, including various food scraps and yard waste, is crucial, and resources like this guide to composting food waste can further refine your approach.
Understanding the Compost Timeline: From Scraps to Soil Gold
At its core, composting is a controlled decomposition process driven by microorganisms. These tiny workers—bacteria, fungi, protozoa, and more—break down organic materials into simpler forms, releasing heat, carbon dioxide, and water, eventually leaving behind stable, nutrient-rich humus. Understanding this fundamental transformation is key to mastering your compost pile.
What is Compost and Why Does its Age Matter?
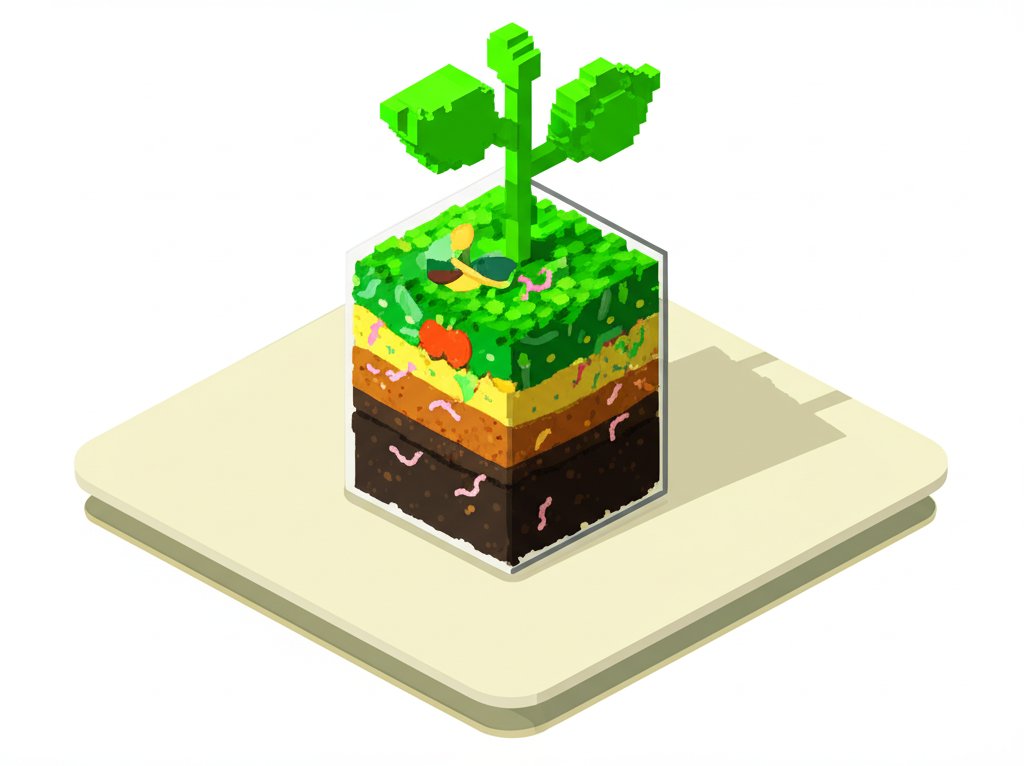
Compost is a dark, earthy-smelling, and nutrient-dense organic material resulting from the decomposition of once-living matter. It’s not just “dirt”; it’s a living ecosystem designed to improve soil structure, enhance water retention, provide essential nutrients, and suppress plant diseases. Its “age” refers to its maturity—how far along it is in the decomposition process. Immature compost can harm plants, while fully matured compost, or black gold, is a powerful soil enhancer. Knowing the compost timeline helps you use it effectively and safely.
The Core Principles of Composting
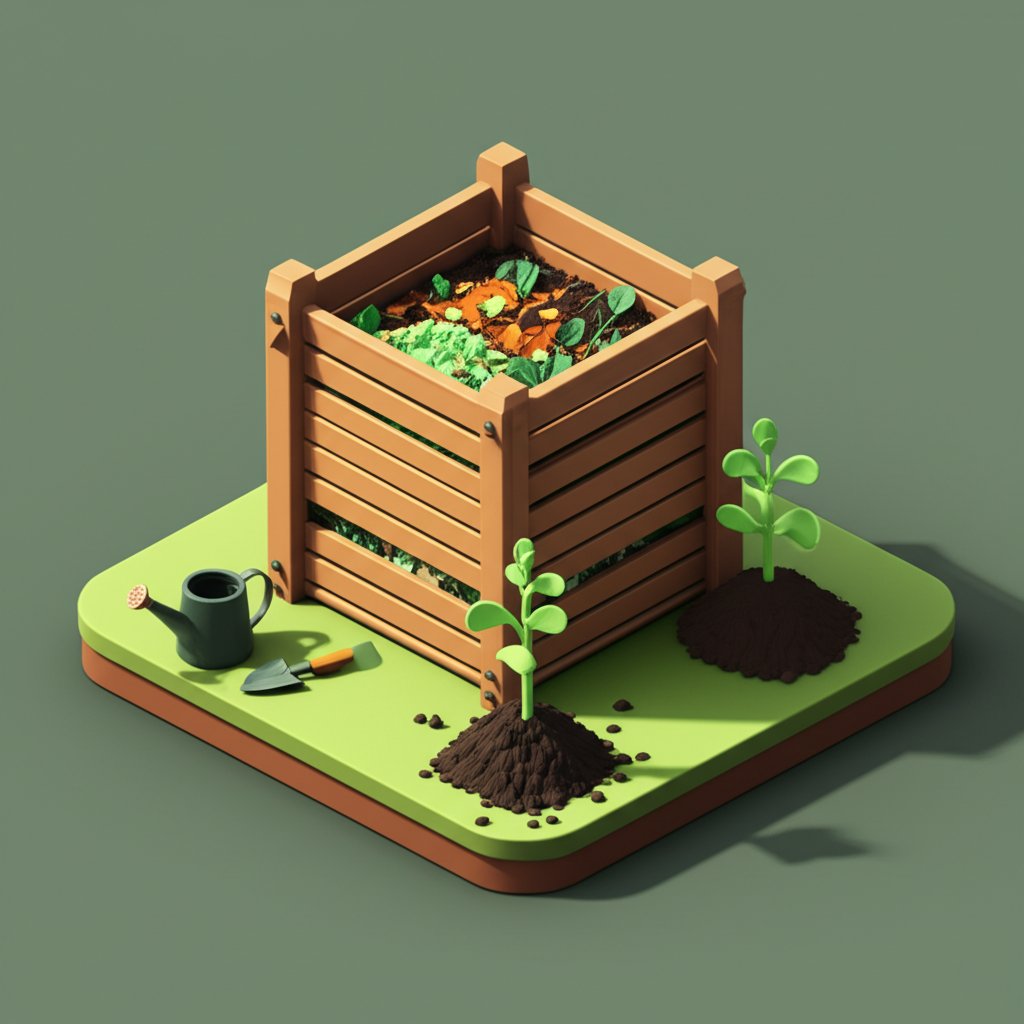
Successful composting hinges on a balanced environment for those hardworking microbes. Just like any living organism, they need the right diet and conditions. The four essential ingredients for effective composting are:
- Carbon-rich materials (“Browns”): These provide energy for microorganisms and make up the bulk of your pile. Examples include dried leaves, straw, wood chips, shredded paper, and cardboard.
- Nitrogen-rich materials (“Greens”): These provide the protein microorganisms need to multiply and work efficiently. Examples include food scraps (fruit and vegetable peels, coffee grounds, tea bags), grass clippings, and fresh plant trimmings.
- Water (Moisture): Your compost pile should be consistently damp, like a well-wrung sponge. Too dry, and microbial activity slows to a halt; too wet, and it becomes anaerobic and smelly.
- Air (Oxygen): Most composting relies on aerobic bacteria, which need oxygen to thrive. Turning your compost pile regularly introduces air, preventing foul odors and speeding up decomposition.
Maintaining the right balance—typically a 25-30:1 ratio of carbon to nitrogen—is crucial for an active and efficient compost timeline.
The Essential Stages of Composting: A Detailed Breakdown
The transformation of organic waste into rich compost isn’t an instant process; it unfolds through a series of distinct stages of composting, each characterized by different microbial activity and temperature fluctuations. Understanding these phases is critical to knowing how old is compost at any given point and when it’s truly ready for your garden.
Stage 1: The Initial Decomposition (Mesophilic Phase)
This is where the composting journey begins. After you build your pile, mesophilic (moderate-temperature loving) microorganisms, naturally present on the organic materials, kick into gear. They start breaking down readily available sugars and starches.
- Characteristics: The pile begins to warm up slightly, but temperatures remain below 100°F (38°C). You might notice a subtle earthy smell.
- Duration: This phase typically lasts for a few days to a week, depending on the pile’s size and composition.
- Key Activity: Rapid consumption of simple compounds, leading to an increase in microbial populations and preparation for the next, hotter phase.
Stage 2: The Heating Up (Thermophilic Phase)
As the mesophilic microbes multiply and consume organic matter, they generate heat. This rise in temperature creates an environment perfect for thermophilic (heat-loving) microorganisms, which are the powerhouses of decomposition.
- Characteristics: The pile’s internal temperature rapidly increases, often reaching 120-160°F (49-71°C) or even higher. This intense heat is beneficial as it kills most weed seeds, pathogens, and harmful bacteria. The volume of the pile will visibly shrink.
- Duration: This is the most active phase, lasting from several weeks to a few months. Regular turning helps maintain oxygen levels and redistribute heat, keeping the thermophilic activity high.
- Key Activity: Vigorous breakdown of more resistant compounds like cellulose and lignin. This is where the bulk of the “heavy lifting” in composting happens.
Actionable Tip: If your pile isn’t heating up, check your brown-to-green ratio, moisture content, and aeration. Adding more greens or turning the pile can often re-ignite the thermophilic process.
Stage 3: The Cooling Down (Curing/Maturation Phase)
Once the readily available organic materials are consumed, the thermophilic activity subsides, and the pile begins to cool. This decline in temperature marks the transition to the curing or maturation phase.
- Characteristics: Temperatures gradually drop back to ambient levels. The decomposition rate slows significantly. Fungi, actinomycetes (a type of bacteria that gives compost its earthy smell), and larger organisms like earthworms and insects begin to colonize the pile, further breaking down remaining particles.
- Duration: This crucial stage can last from one to several months. While less dramatic than the thermophilic phase, it’s essential for creating stable compost.
- Key Activity: Stabilization of organic compounds, humification (formation of stable humus), and nutrient mineralization. The compost becomes more finely textured and uniform.
Stage 4: The Finished Product (Stable Humus)
After sufficient curing, your organic materials have fully transformed into stable humus – the coveted “black gold.” This is the point where your compost timeline reaches its ideal conclusion.
- Characteristics: The finished compost will be dark brown to black, crumbly, and have a rich, earthy smell, reminiscent of forest soil. It should no longer resemble the original materials, though some small, resistant pieces (like wood chips) might remain. The temperature should be consistent with the ambient air.
- Duration: The entire process from start to finish can range from as little as 2-3 months in an ideally managed hot pile to 6-12 months or even longer in a slower, less active pile.
- Key Activity: The compost is now a stable, nutrient-rich soil amendment ready to be incorporated into your garden to boost plant health and soil fertility.
How Long Does It Take? Unraveling “How Old Is Compost?”
The question “How old is compost?” doesn’t have a single, universal answer. The compost timeline is highly variable, influenced by many factors. While some methods can yield usable compost in a matter of weeks, others might take a year or more. A good general guideline for most backyard composting setups is 3 to 6 months for mature compost, but this timeframe is flexible.
Factors Influencing Your Compost Timeline
Understanding these variables allows you to actively manage and even accelerate your composting process:
- Material Size: Smaller pieces break down faster. Shredding or chopping your “browns” and “greens” increases surface area for microbial action.
- Tip: Aim for pieces no larger than 1-2 inches for optimal speed.
- Carbon-to-Nitrogen Ratio: The ideal C:N ratio is around 25-30:1. Too much carbon slows decomposition; too much nitrogen can lead to a smelly, slimy pile.
- Tip: A good rule of thumb is roughly equal parts browns and greens by volume, but adjust based on observation.
- Moisture Content: Like a wrung-out sponge—damp, but not soggy. Too dry, microbes dehydrate; too wet, oxygen is excluded.
- Tip: If it feels dry, add water as you turn. If it’s too wet, add more dry browns.
- Aeration (Oxygen): Regular turning introduces oxygen, vital for aerobic bacteria. Lack of oxygen leads to anaerobic decomposition, which is slow and smelly.
- Tip: Turn your pile every 1-2 weeks during the active heating phase.
- Pile Size: Larger piles (at least 3x3x3 feet) insulate better and hold heat, promoting faster thermophilic activity. Smaller piles struggle to maintain optimal temperatures.
- Temperature (External): Composting slows down in cold weather and speeds up in warm weather. While active piles generate their own heat, extreme cold can bring the process to a near halt.
- Composting Method:
- Hot Composting: Actively managed piles (turned regularly, correct C:N, moisture) that reach high temperatures can produce compost in 2-3 months.
- Cold Composting: Passive piles where materials are simply layered and left to decompose naturally take 6-12 months, or even longer.
- Vermicomposting: Using worms to break down food scraps produces “worm castings” (vermicompost) in 2-3 months, but it’s a different input-output system.
Rapid Composting Techniques for Faster Results
If you’re eager to get your “black gold” quickly, consider these accelerating tactics:
- Chop Everything Fine: Maximize surface area.
- Maintain C:N Balance Rigorously: Use a consistent blend of browns and greens.
- Turn Frequently: Aerate the pile every few days during the hot phase.
- Keep It Moist: Check moisture daily if possible.
- Build a Large Pile: Aim for that 3x3x3 ft minimum volume.
- Use a Compost Tumbler: These make turning effortless and are excellent for hot composting.
By diligently managing these factors, you can significantly shorten your compost timeline and reduce how old is compost when it’s ready for use.
Recognizing Finished Compost: Signs of Black Gold
Knowing precisely when your compost has completed its stages of composting and transformed into stable, nutrient-rich “black gold” is crucial. Using unfinished compost can actually harm plants by tying up nitrogen in the soil. Fortunately, finished compost has several clear indicators.
The Smell Test: Earthy Not Rotten
- What to Look For: Finished compost should have a pleasant, earthy aroma, much like fresh forest soil after a rain. It should never smell foul, sour, or like ammonia.
- What it Means: A good smell indicates a healthy, aerobic decomposition process. Foul odors suggest anaerobic conditions (too wet, not enough air) or an imbalance in materials.
The Look and Feel Test: Uniform and Crumbly
- What to Look For: The original organic materials should be unrecognizable. The compost should be dark brown to black, uniform in texture, and crumbly. It should feel lightweight and fluffy.
- What it Means: This appearance indicates that complex organic compounds have been thoroughly broken down and humified. Very few, if any, large pieces of initial input material should remain.
The Temperature Test: Cool to the Touch
- What to Look For: An active compost pile will generate heat. However, finished compost should be at ambient temperature, no longer warm to the touch. This indicates that the thermophilic stage is complete and microbial activity has stabilized.
- What it Means: A cool temperature signifies that the most aggressive decomposition is over and the compost is mature and stable.
The Seed Germination Test (Optional but Definitive)
- How to Perform: Take a small sample of your compost and plant some fast-germinating seeds (like radish or bean seeds) in it, alongside a control group planted in regular potting soil.
- What to Look For: If the seeds in the compost sprout strongly and grow healthily, your compost is ready. If they struggle, germinate poorly, or show signs of stress, the compost may still be too “hot” or immature and needs more curing time.
By applying these tests, you can confidently determine when your compost has reached its peak maturity and is ready to enrich your garden and soil.
Maximizing Your Compost’s Longevity and Potency
Once you’ve achieved that perfect “black gold,” the journey isn’t over. Proper handling and storage can maximize its benefits, and even older compost can be rejuvenated for continued use. This extends the effective compost timeline and ensures you always have a valuable resource.
Storing Finished Compost for Optimal Use
Finished compost is a living product, and while it’s stable, its beneficial microbial life can degrade over time if not stored properly.
- Keep it Aerated: Store compost in a pile, bin, or burlap sacks that allow for some air circulation. Avoid airtight containers, which can lead to anaerobic conditions.
- Maintain Some Moisture: While it won’t be actively decomposing, a slightly damp state helps preserve microbial activity. Protect it from excessive rain (which can leach nutrients) and direct sun (which can dry it out). A tarp or shed is ideal.
- Use it Within a Year: While compost doesn’t truly “go bad” in the sense of spoiling, its nutrient content and microbial diversity will gradually diminish over many months. For peak potency, aim to use it within 6-12 months of maturation.
- Layer it in Garden Beds: If you have an abundance, spread a layer over garden beds in the fall or winter. This “top-dressing” allows nutrients to slowly integrate into the soil, protecting it and enriching it for spring planting.
Rejuvenating Old or Neglected Compost
Even if your compost pile has sat dormant for a long time, looking dry and less vibrant, it can often be brought back to life. This is great news for extending the utility of your black gold, ensuring you get the most out of your composting efforts.
- Assess the Condition: Is it completely dry? Compacted? Does it still have some recognizable organic components?
- Break it Up: If compacted, break apart the material to reintroduce air. A pitchfork or shovel works well.
- Add Fresh Materials: Mix in a new layer of greens (e.g., fresh grass clippings, food scraps) and browns (e.g., shredded leaves, straw). This provides new food for microbes.
- Re-Moisturize: Slowly add water as you turn, ensuring the entire pile is evenly damp.
- Turn and Monitor: Turn the rejuvenated pile regularly, just like a new hot pile. Monitor for temperature increase. If it heats up, you’ve successfully kickstarted decomposition anew.
- Consider Activators: A handful of finished compost (from a healthy pile) or a commercial compost accelerator can introduce new microbial populations to a stagnant pile.
By rejuvenating old compost, you prevent waste and ensure a continuous supply of this valuable soil amendment, effectively making your “old” compost valuable again for your garden.
Troubleshooting Common Composting Timeline Issues
Even experienced composters encounter hiccups. These common issues can slow down your compost timeline or prevent your pile from reaching the “black gold” stage. Knowing how to troubleshoot them will keep your composting efforts on track and help you understand how old is compost at any given moment.
Why Is My Compost Not Heating Up?
A cold pile means microbial activity is low. This is the most common complaint and often stems from one of two issues:
- Lack of Nitrogen (Greens): The microbes need nitrogen for growth. If your pile is mostly brown leaves or wood, add fresh grass clippings, food scraps, or a small amount of manure.
- Too Dry: Microbes need moisture to thrive. Feel your pile; if it’s crumbly and dry, add water slowly as you turn.
- Lack of Air: If the pile is compacted, it’s starved for oxygen. Turn it thoroughly to introduce air.
- Too Small: A pile needs sufficient mass to generate and retain heat. If your pile is less than 3x3x3 feet, it might struggle to get hot. Consider adding more materials.
Why Is My Compost Too Wet or Smelly?
A foul, rotten egg, or ammonia smell, along with a slimy texture, indicates anaerobic conditions (lack of oxygen).
- Too Much Moisture: The pile is waterlogged, suffocating aerobic microbes.
- Solution: Turn the pile immediately and add dry browns (shredded cardboard, dry leaves, wood chips) to absorb excess moisture.
- Too Much Nitrogen (Greens): An excess of nitrogen-rich materials can lead to rapid anaerobic decomposition, producing ammonia gas.
- Solution: Turn the pile and add more carbon-rich browns to balance the ratio.
- Compaction: Poor air circulation contributes to anaerobic pockets.
- Solution: Turn the pile regularly to loosen it up.
Dealing with Pests and Undesirable Organisms
While beneficial insects and worms are welcome, larger pests like rodents or flies are not.
- Rodents: Attracted by meat, dairy, oily foods, or pet waste.
- Solution: Avoid these materials in home compost. Bury food scraps deep within the pile’s hot center. Use a robust, critter-proof compost bin.
- Flies: Attracted by exposed food scraps.
- Solution: Always bury fresh food scraps under a layer of browns or existing compost. Turn the pile regularly.
- Ants: Often indicate a pile that is too dry.
- Solution: Moisten and turn the pile.
- Slugs and Snails: Often found in cool, damp, shaded piles.
- Solution: Maintain proper heat and aeration. Consider moving the pile to a sunnier spot.
By actively monitoring your compost pile and addressing these common issues, you can ensure a healthy, efficient compost timeline from start to finish.
Conclusion
Mastering the compost timeline is an empowering skill for any gardener or eco-conscious individual. From understanding the fundamental principles of composting to navigating the distinct stages of composting, you now possess the knowledge to transform organic waste into invaluable black gold. The answer to “how old is compost?” is not static, but a dynamic journey influenced by your diligence and care.
By maintaining the right balance of browns, greens, moisture, and air, you can greatly accelerate the process, bringing your compost to maturity in as little as a few months. Even old or neglected compost can be revived, extending its useful life and reinforcing its role as a sustainable resource. Embrace these expert insights and practical tips – your garden, and the planet, will thank you for it. Start building your black gold today and witness the incredible transformation firsthand!
FAQ
Q1: What is compost?
A1: Compost is a rich, dark, and nutrient-dense organic material created from the breakdown of food scraps, yard waste, and other plant-based materials through a natural biological process. It acts as a powerful soil amendment, improving fertility, structure, and water retention in gardens.
Q2: How long does it typically take for compost to be ready, or how old is compost when it’s finished?
A2: The compost timeline varies greatly. For an actively managed, hot compost pile, it can be ready in as little as 2-3 months. For a slower, passive “cold” pile, it usually takes 6-12 months, or sometimes even longer. The age depends on material size, balance of ingredients, moisture, aeration, and environmental conditions.
Q3: What are the main stages of composting?
A3: The main stages of composting are:
Q4: How do I know when my compost is finished and ready to use?
A4: Finished compost will be dark brown to black, uniform in texture, and crumbly. It should have a pleasant, earthy smell, no longer resembling the original materials. Crucially, it should be cool to the touch, indicating that the active decomposition process has concluded.
Q5: Can old compost still be used, and how can it be revitalized?
A5: Yes, old compost can still be used, though its peak nutrient value may have diminished. To revitalize it, break up any compacted material, add fresh “greens” (nitrogen-rich materials) and “browns” (carbon-rich materials), ensure it’s evenly moist, and turn it regularly. This can re-ignite microbial activity and restore some of its potency.