Want to grow those gorgeous caladiums everyone’s raving about? This guide shows you exactly how, from picking the right plants to keeping them happy and healthy for years. It’s easy to follow, whether you’re a gardening pro or just starting out. We’ll cover everything, including common problems and how to avoid them, so you can enjoy beautiful caladiums in your home or garden. For more beautiful flowering plants, check out this guide. Let’s get growing!
Essential Tips for Growing Vibrant Caladiums
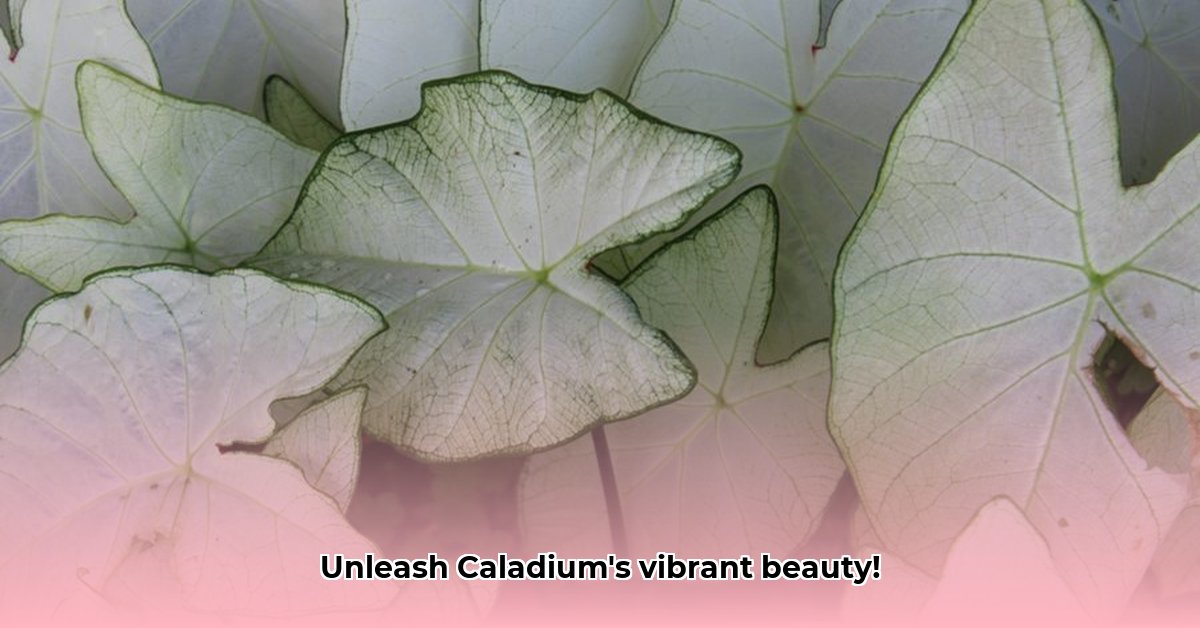
Caladiums, with their incredibly vibrant leaves, are a joy to cultivate, even for beginners. The principles of careful tending apply to a surprisingly wide range of plants. Attentive care for caladiums translates directly into vibrant foliage.
- Caladiums thrive with attentive care, rewarding gardeners with vibrant foliage.
- Bright, indirect light is crucial for unleashing the full potential of their colors.
- Preventing soggy soil will help unlock healthy caladiums, promoting optimal growth.
Light and Location for Caladium Growth
Caladiums love bright, indirect light. Harsh, direct sun will scorch their delicate leaves. Think of the gentle light filtering through a forest canopy – that’s perfect. An east- or north-facing window is usually ideal for indoor caladiums. Outdoors, a spot shaded by taller plants works well. The amount of light they receive directly impacts the vibrancy of their colors, so finding the right balance is key. If the colors appear faded, the plant might need more light. If the leaves look burned, move it to a shadier spot.
Planting Caladiums: Corms and Growth
Here’s a step-by-step guide to planting your caladium “bulbs” (they’re actually called corms):
- Soil Preparation: Start with a well-draining potting mix. Soggy soil is a caladium’s worst enemy; they need good drainage to thrive and prevent tuber rot. Look for a mix specifically formulated for tropical plants, or amend a general-purpose mix with perlite or vermiculite.
- Choosing a Container: Select a pot with ample drainage holes. The size should be appropriate for the size of the corm. A 6-inch pot is a good starting point for a medium-sized corm.
- Planting the Corms: Gently plant the corms about 2 inches deep, making sure the pointed end (where the sprouts will emerge) is facing upwards. If you’re unsure which end is up, plant the corm on its side; the plant will figure it out. Give them enough space to grow – overcrowding will lead to competition for resources.
- Watering Your New Caladiums: Water thoroughly after planting to settle the soil around the corm. Then, let the top inch or so of the soil dry out slightly before watering again. Overwatering is a common mistake, so err on the side of caution. Think “damp, not soggy.”
- Initial Warmth: Caladiums sprout faster in warm soil. Consider placing the planted pot on a heat mat designed for seed starting to encourage quicker growth. Once sprouts appear, remove the heat mat.
Caladium Care: Tropical Beauties
Once planted, here’s what you need to know to keep your caladiums thriving:
- Temperature: Caladiums prefer warm temperatures, ideally between 70-85°F (21-29°C) during the day and no lower than 65°F (18°C) at night. Consistent warmth encourages vibrant growth.
- Humidity: These tropical plants love humidity! Aim for humidity levels above 60%. You can increase the humidity around them by grouping them together with other plants, using a humidifier, or by placing the pot on a tray filled with pebbles and water (make sure the bottom of the pot isn’t sitting in the water). Misting the leaves regularly can also help, but avoid misting in direct sunlight to prevent leaf burn.
- Fertilizing: During their active growing season (spring and summer), feed your caladiums every 2-4 weeks with a balanced, water-soluble fertilizer (20-20-20 or similar). Dilute the fertilizer to half the strength recommended on the package to avoid burning the roots. Alternatively, use a slow-release fertilizer at the beginning of the growing season.
- De-eyeing (Optional): Some gardeners choose to “de-eye” their caladium corms before planting. This involves removing the dominant central bud to encourage the growth of more side shoots, resulting in a bushier plant. However, this isn’t essential, and some varieties don’t benefit from it.
- Pest and Disease Control: Keep an eye out for common pests like aphids (small, sap-sucking insects), spider mites (tiny pests that create webs), and mealybugs (cottony-looking pests). If you spot any, treat them promptly with insecticidal soap or neem oil—these are generally safer options than harsh chemical pesticides. Good air circulation can help prevent fungal diseases.
Exploring Caladium Varieties
The variety in caladiums is simply stunning! You’ll find a huge range of leaf shapes (heart-shaped, lance-shaped, ruffled), sizes (dwarf to large), and colors—from delicate pinks and fiery reds to deep greens, creamy whites, and striking patterns. Some popular varieties include ‘White Christmas,’ ‘Red Flash,’ ‘Pink Symphony,’ and ‘Candidum.’ Exploring the different cultivars is half the fun! Visit your local garden center or browse online catalogs to discover the endless possibilities. Consider factors like sun tolerance and mature size when choosing varieties for your space.
Caladium Propagation
Want more caladiums? They’re primarily propagated by dividing the corms. Here’s how:
- Timing: The best time to divide caladium corms is in early spring, just before planting.
- Preparation: Carefully dig up the corm (if it’s already planted) or remove it from its storage container.
- Division: Use a sharp, clean knife to cut the corm into sections, ensuring that each section has at least one “eye” or growth bud.
- Callousing: Allow the cut surfaces to dry and callous over for a few days before planting. This helps prevent rot.
- Planting: Plant the divided corms as described above.
While propagation from seeds is possible, it’s less common and more time-consuming. Sharing your caladiums with friends is a wonderful way to spread the beauty—and the gardening enjoyment!
Caladium Issues: Problems and Solutions
Sometimes, even with the best care, problems can arise. Here’s a handy guide:
| Problem | Possible Causes | Solutions |
|---|---|---|
| Yellowing Leaves | Overwatering, underwatering, nutrient deficiency, cold drafts | Adjust watering, fertilize (if needed), move to a warmer location |
| Brown Leaf Edges | Low humidity, over-fertilization, direct sunlight | Increase humidity, reduce fertilization, move to a shadier spot |
| Leaf Spots | Fungal disease, bacterial blight | Remove affected leaves, improve air circulation, use appropriate fungicide/bactericide (if necessary) |
| Stunted Growth | Poor drainage, insufficient light, rootbound | Improve drainage, adjust light, repot into a larger pot |
| No New Growth | Dormancy (normal in winter), temperature issues | Wait for the growing season, check temperature, ensure adequate light |
| Tuber Rot | Overwatering, poorly draining soil | Repot in well-draining soil, reduce watering frequency, ensure good air circulation around the tubers |
| Pest Infestation | Various pests (aphids, spider mites, mealybugs) | Identify the pest and treat with insecticidal soap, neem oil, or other appropriate organic pest control |
Remember, dealing with plant issues often involves some detective work. Careful observation is key! Sometimes, it’s a simple fix; other times, it might take some experimenting. Document your changes and observe the plant’s response to fine-tune your care routine.
Conclusion: Enjoying Your Caladiums
This guide provides a solid foundation for successfully growing your own beautiful caladiums. Remember to be patient, observant, and adaptable, and enjoy the journey of nurturing these tropical treasures! They’ll reward you with vibrant color and a sense of accomplishment.
Cultivate Caladiums for Commercial Growth: Strategic Insights
Key Takeaways:
- Caladiums are fast-growing, relatively low-maintenance plants, suitable for commercial cultivation.
- Using prefinished plants or high-quality tubers significantly speeds up the growing process.
- Careful temperature, moisture, and nutrient control are crucial for success.
Starting Strong: Sourcing Planting Material
Your journey to a thriving caladium crop begins with acquiring high-quality planting material. Prefinished plants offer a significant head start, accelerating your production timeline and minimizing the initial investment in space and resources. However, if starting from tubers, choose healthy tubers from reputable suppliers to maximize yield. Look for firm, plump tubers free from blemishes, soft spots, or signs of disease. Consider investing in superior varieties bred for resilience against climate variations, disease resistance, desired leaf color, and compact growth